Scenario - Persistent Storage Volume Provisioning and Availability for Virtual Machines
In this scenario, we will learn how to provision a virtual machine on OpenShift Virtualization with Portworx.
Step 1 - Modify our VM
Let’s modify our VM to help verify that our changes are retained during a live migration and HA event.
Let’s write some data to a file:
virtctl ssh cloud-user@centos-stream9-example \
  -i ~/.ssh/id_rsa \
  -t "-o StrictHostKeyChecking=no" \
  -c 'echo "Red Hat was here" > ~/text'
We can read our file at any time by running:
virtctl ssh cloud-user@centos-stream9-example \
  -i ~/.ssh/id_rsa \
  -t "-o StrictHostKeyChecking=no" \
  -c 'cat ~/text'
Step 2 - Test Live Migrations
In order for live migrations to be supported, OpenShift Virtual Machines must use a PVC with a ReadWriteMany access mode. We can verify this by running:
oc get pvcTask 1: Live Migrate a VM
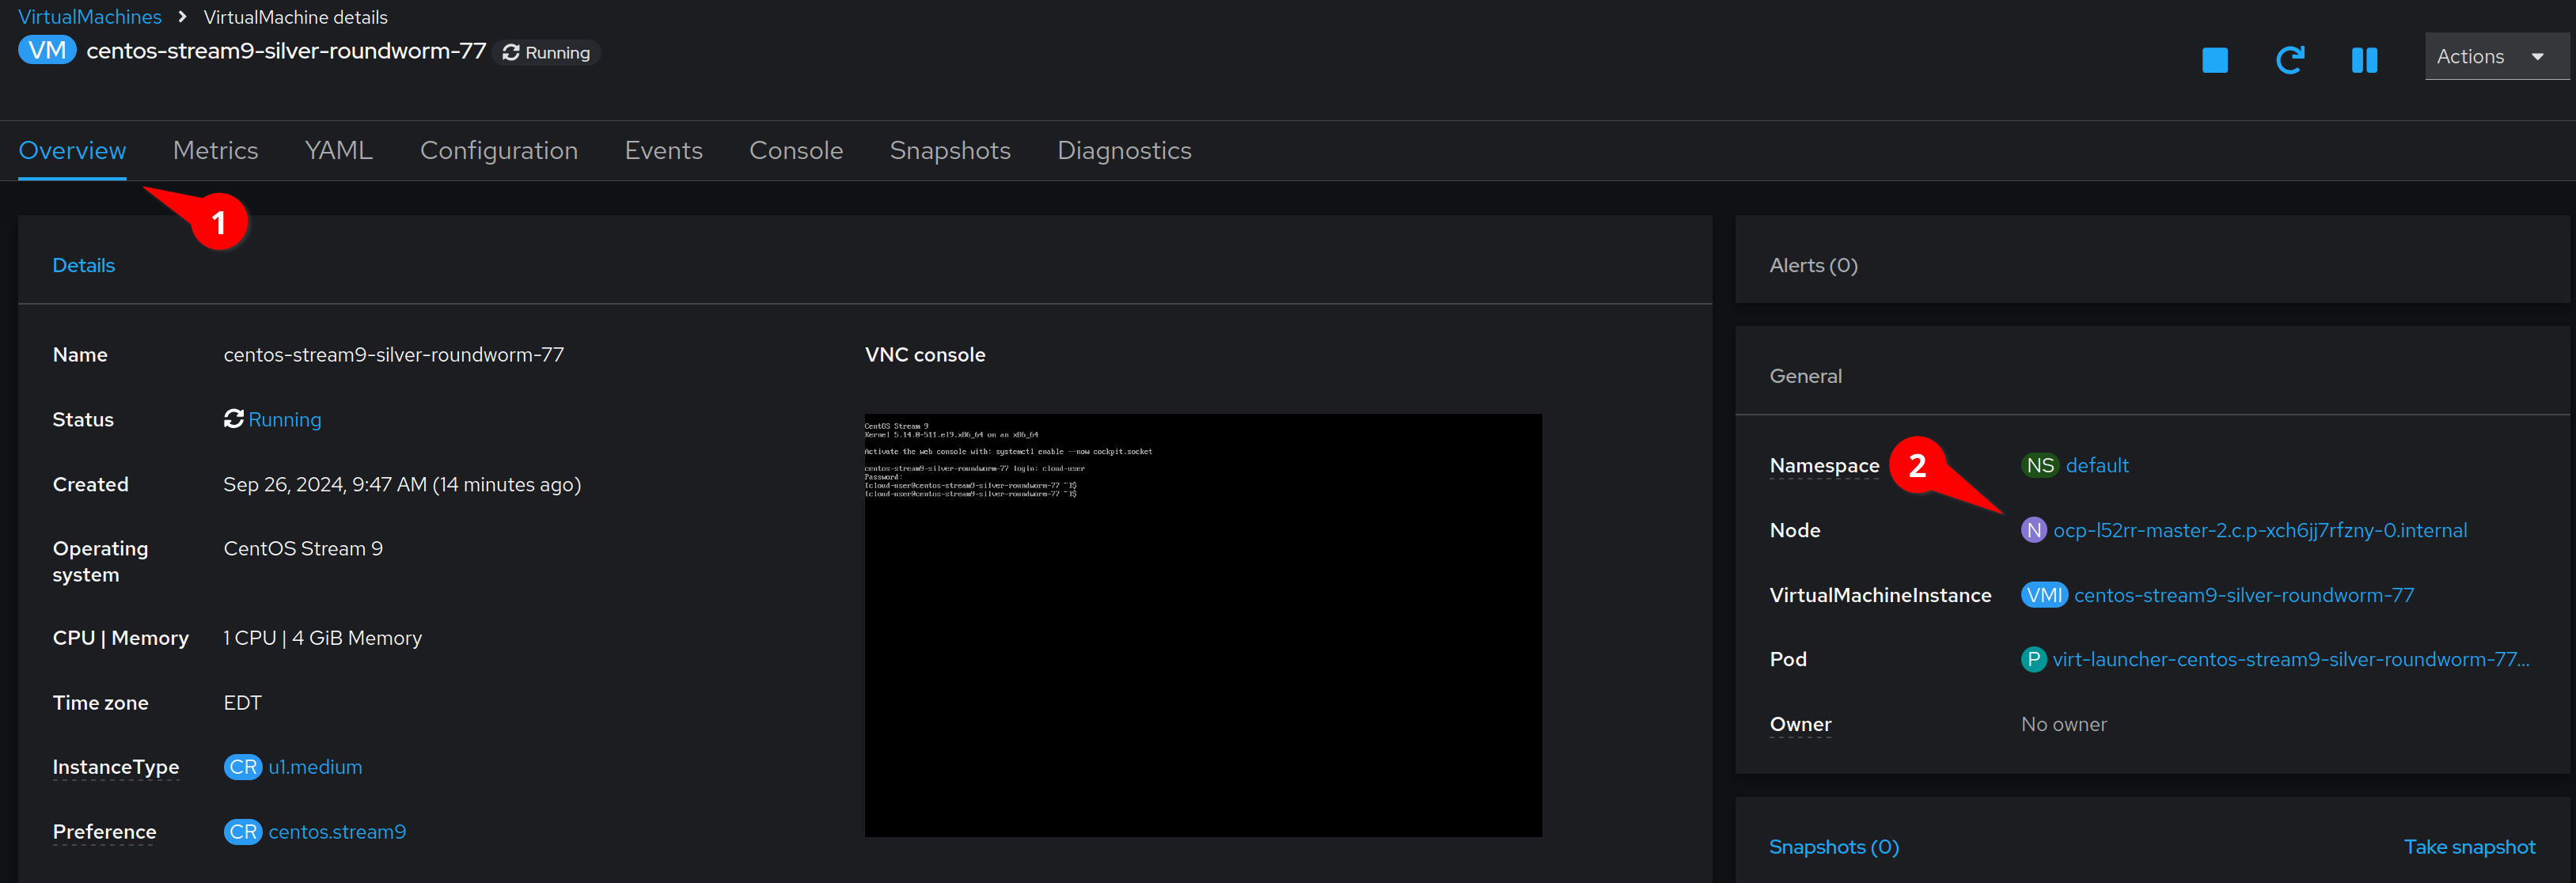
Back in the OpenShift Console, click on the Overview tab and note
the node where our VM is running.
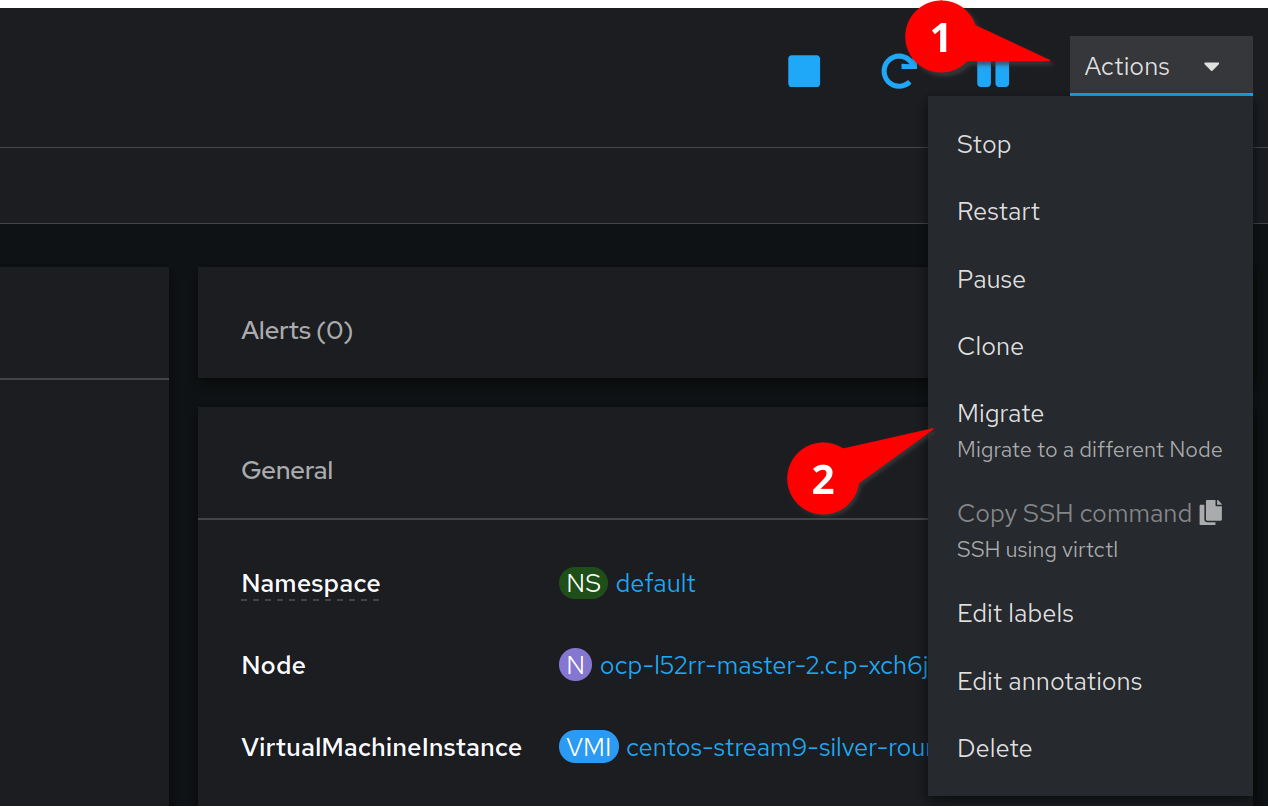
We can now migrate the VM to a new node by selecting the Actions menu,
and clicking Migrate
After a few moments the interface will update with the new node.
It is important to understand that in OpenShift Virtualization VirtualMachines run inside pods. This migration spawns a new pod on the destination node and live migrates the VM to that pod.
We can view the running pods by executing:
oc get pods -o wideNotice that one of the pods is in the Completed state because the virtual machine process has moved to another pod.
We can view the running VMs by typing:
oc get vmsLet’s check to make sure our data is still there:
virtctl ssh cloud-user@centos-stream9-example \
  -i ~/.ssh/id_rsa \
  -t "-o StrictHostKeyChecking=no" \
  -c 'cat ~/text'
Step 3 - Providing HA
Task 1: Proving HA
We will now induce a failure in our OpenShift cluster.
It is important to understand that in OpenShift Virtualization, Virtual Machines run inside pods. As we learned above, our virtual machine is actually running from inside a pod. Let’s find out which node our virtual machine is running on:
NODENAME=$(oc get pods -o wide | grep 'Running' | awk '{print $7}' | head -n 1)

echo "Your VM is running on node: ${NODENAME}"
Let’s reboot this node. We will now debug the node:
oc debug node/$NODENAME
Running oc debug node/$NODENAME can take a few seconds as a pod needs to be attached to the node.
|
Chroot to the host
chroot /hostAnd finally, reboot the OpenShift worker node hosting the running MongoDB pod:
reboot
It is possible that the showroom lab interface (where you are reading these instructions) is running on the node that you just rebooted. In that case the terminal on the right will disconnect. You will need to refresh your window until OpenShift notices that the node is down and re-schedules the showroom pod to an available node.
|
To speed up the re-creation of the pod you can also find the showroom pod in the showroom namespace and delete the currently running pod.
nnh Let’s watch our VM and pod status in the default namespace:
watch oc get pods,vms -o wideTake note of the NODE column. We will see a new launcher pod start on a new node.
We can verify that our virtual machine is again running in the OpenShift Console, but because this was an unplanned outage, the VM has rebooted.
Let’s check to make sure our data is still there:
virtctl ssh cloud-user@centos-stream9-example \
  -i ~/.ssh/id_rsa \
  -t "-o StrictHostKeyChecking=no" \
  -c 'cat ~/text'
You are ready to move to the next lab.