Scenario - Persistent Storage Volume Provisioning and Availability for Virtual Machines
In this scenario, we will learn about how to provision a virtual machine on OpenShift Virtualization with Pure Storage.
Step 1 - Deploy a virtual machine using the OpenShift command line tool
Let’s start by building a VM using the oc command line tool.
Task 1: Generate an SSH keypair
In order to interact with our virtual machine, let’s create an SSH keypair.
ssh-keygen -t rsa -b 4096 -f ~/.ssh/id_rsa -N ""Task 2: Create an OpenShift Secret with our SSH key:
cat << EOF | oc apply -f -
---
apiVersion: v1
kind: Secret
metadata:
  name: authorized-keys
  namespace: vmtest
data:
  key: $(cat ~/.ssh/id_rsa.pub | base64 -w0)
EOF
Task 3: Create an OpenShift Virtual Machine
cat << EOF | oc apply -f -
---
apiVersion: kubevirt.io/v1
kind: VirtualMachine
metadata:
  name: centos-stream9-example
  namespace: vmtest
spec:
  dataVolumeTemplates:
  - metadata:
      name: centos-stream9-example-ds-centos-stream9
      annotations:
        cdi.kubevirt.io/storage.usePopulator: "false"
    spec:
      sourceRef:
        kind: DataSource
        name: centos-stream9
        namespace: openshift-virtualization-os-images
      storage:
        resources: {}
  instancetype:
    name: u1.medium
  preference:
    name: centos.stream9
  runStrategy: Always
  template:
    spec:
      domain:
        devices: {}
        resources: {}
      terminationGracePeriodSeconds: 180
      volumes:
      - name: centos-stream9-example-ds-centos-stream9
        dataVolume:
          name: centos-stream9-example-ds-centos-stream9
      - name: cloudinitdisk
        cloudInitNoCloud:
          userData: |-
            #cloud-config
            user: cloud-user
      accessCredentials:
      - sshPublicKey:
          propagationMethod:
            noCloud: {}
          source:
            secret:
              secretName: authorized-keys
EOF
The above command created a VM called centos-stream9-example that we will use for the rest of the labs.
We can check the status of the VM running this command.
watch oc get vmsOnce the VM is running, ctrl-c to exit. We can then log into this VM using this command (if you do so make sure to exit again by pressing Ctrl-D or typing exit and pressing Enter):
virtctl ssh cloud-user@centos-stream9-example \
  -i ~/.ssh/id_rsa \
  -t "-o StrictHostKeyChecking=no"
Step 2 - Deploy a Virtual Machine using the OpenShift Console
Start by logging in to the OpenShift console if you haven’t already.
Task 1: Create a new VM
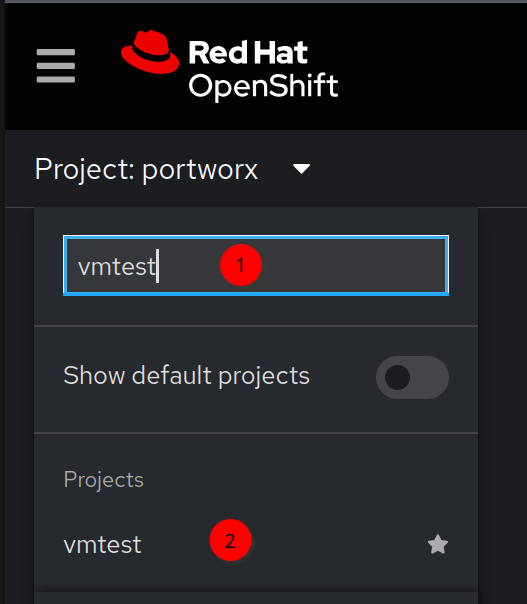
Navigate to the Virtualzation > Virtual Machines menu

Select our vmtest project in the upper left of the interface
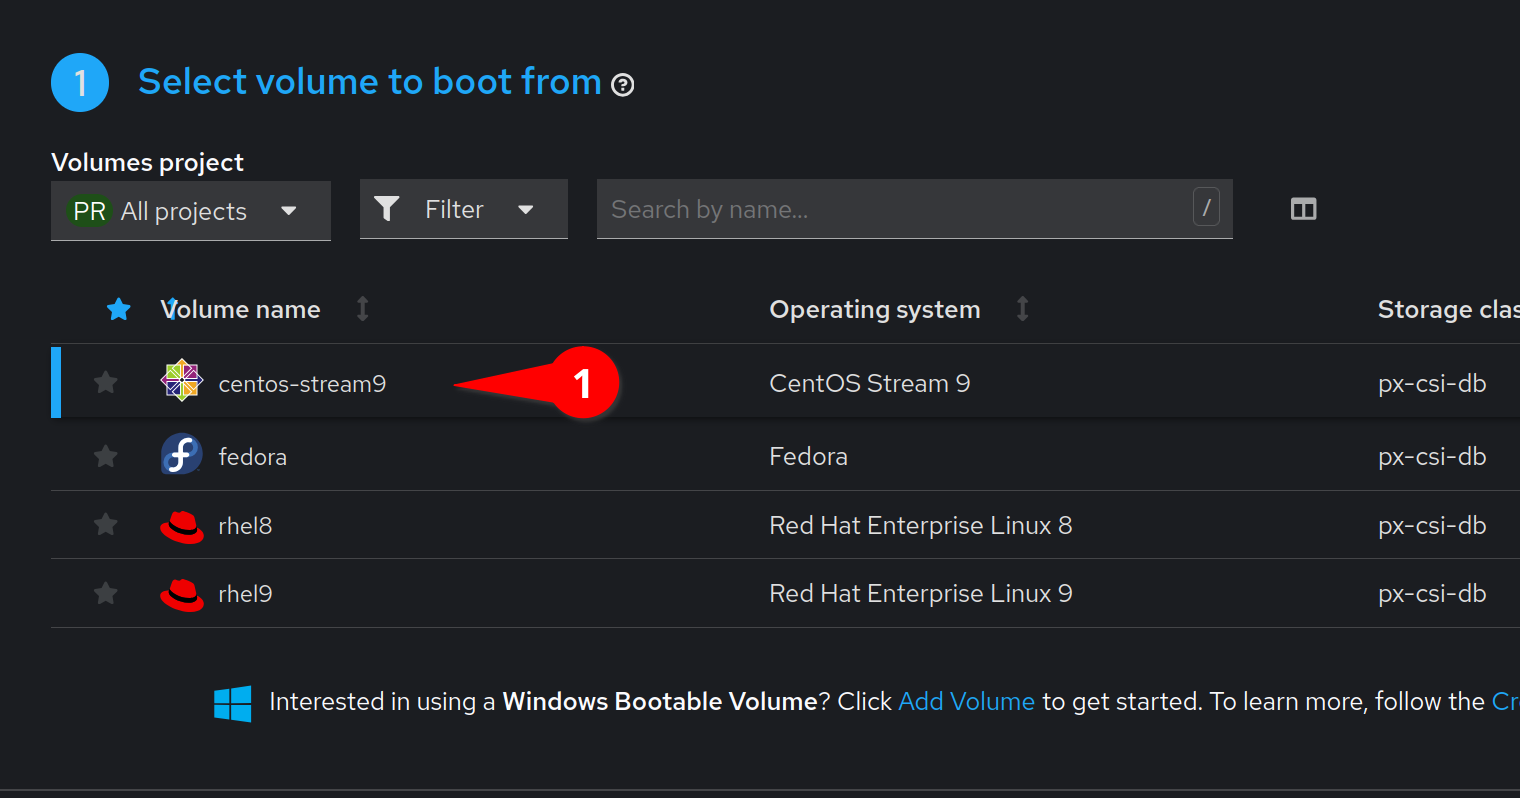
Click the Create button, and then select From instanceType from the menu

Select the CentOS Stream image. We can also use the default instance type.
Verify that our StorageClass is set to px-csi-vm and click
Create VirtualMachine
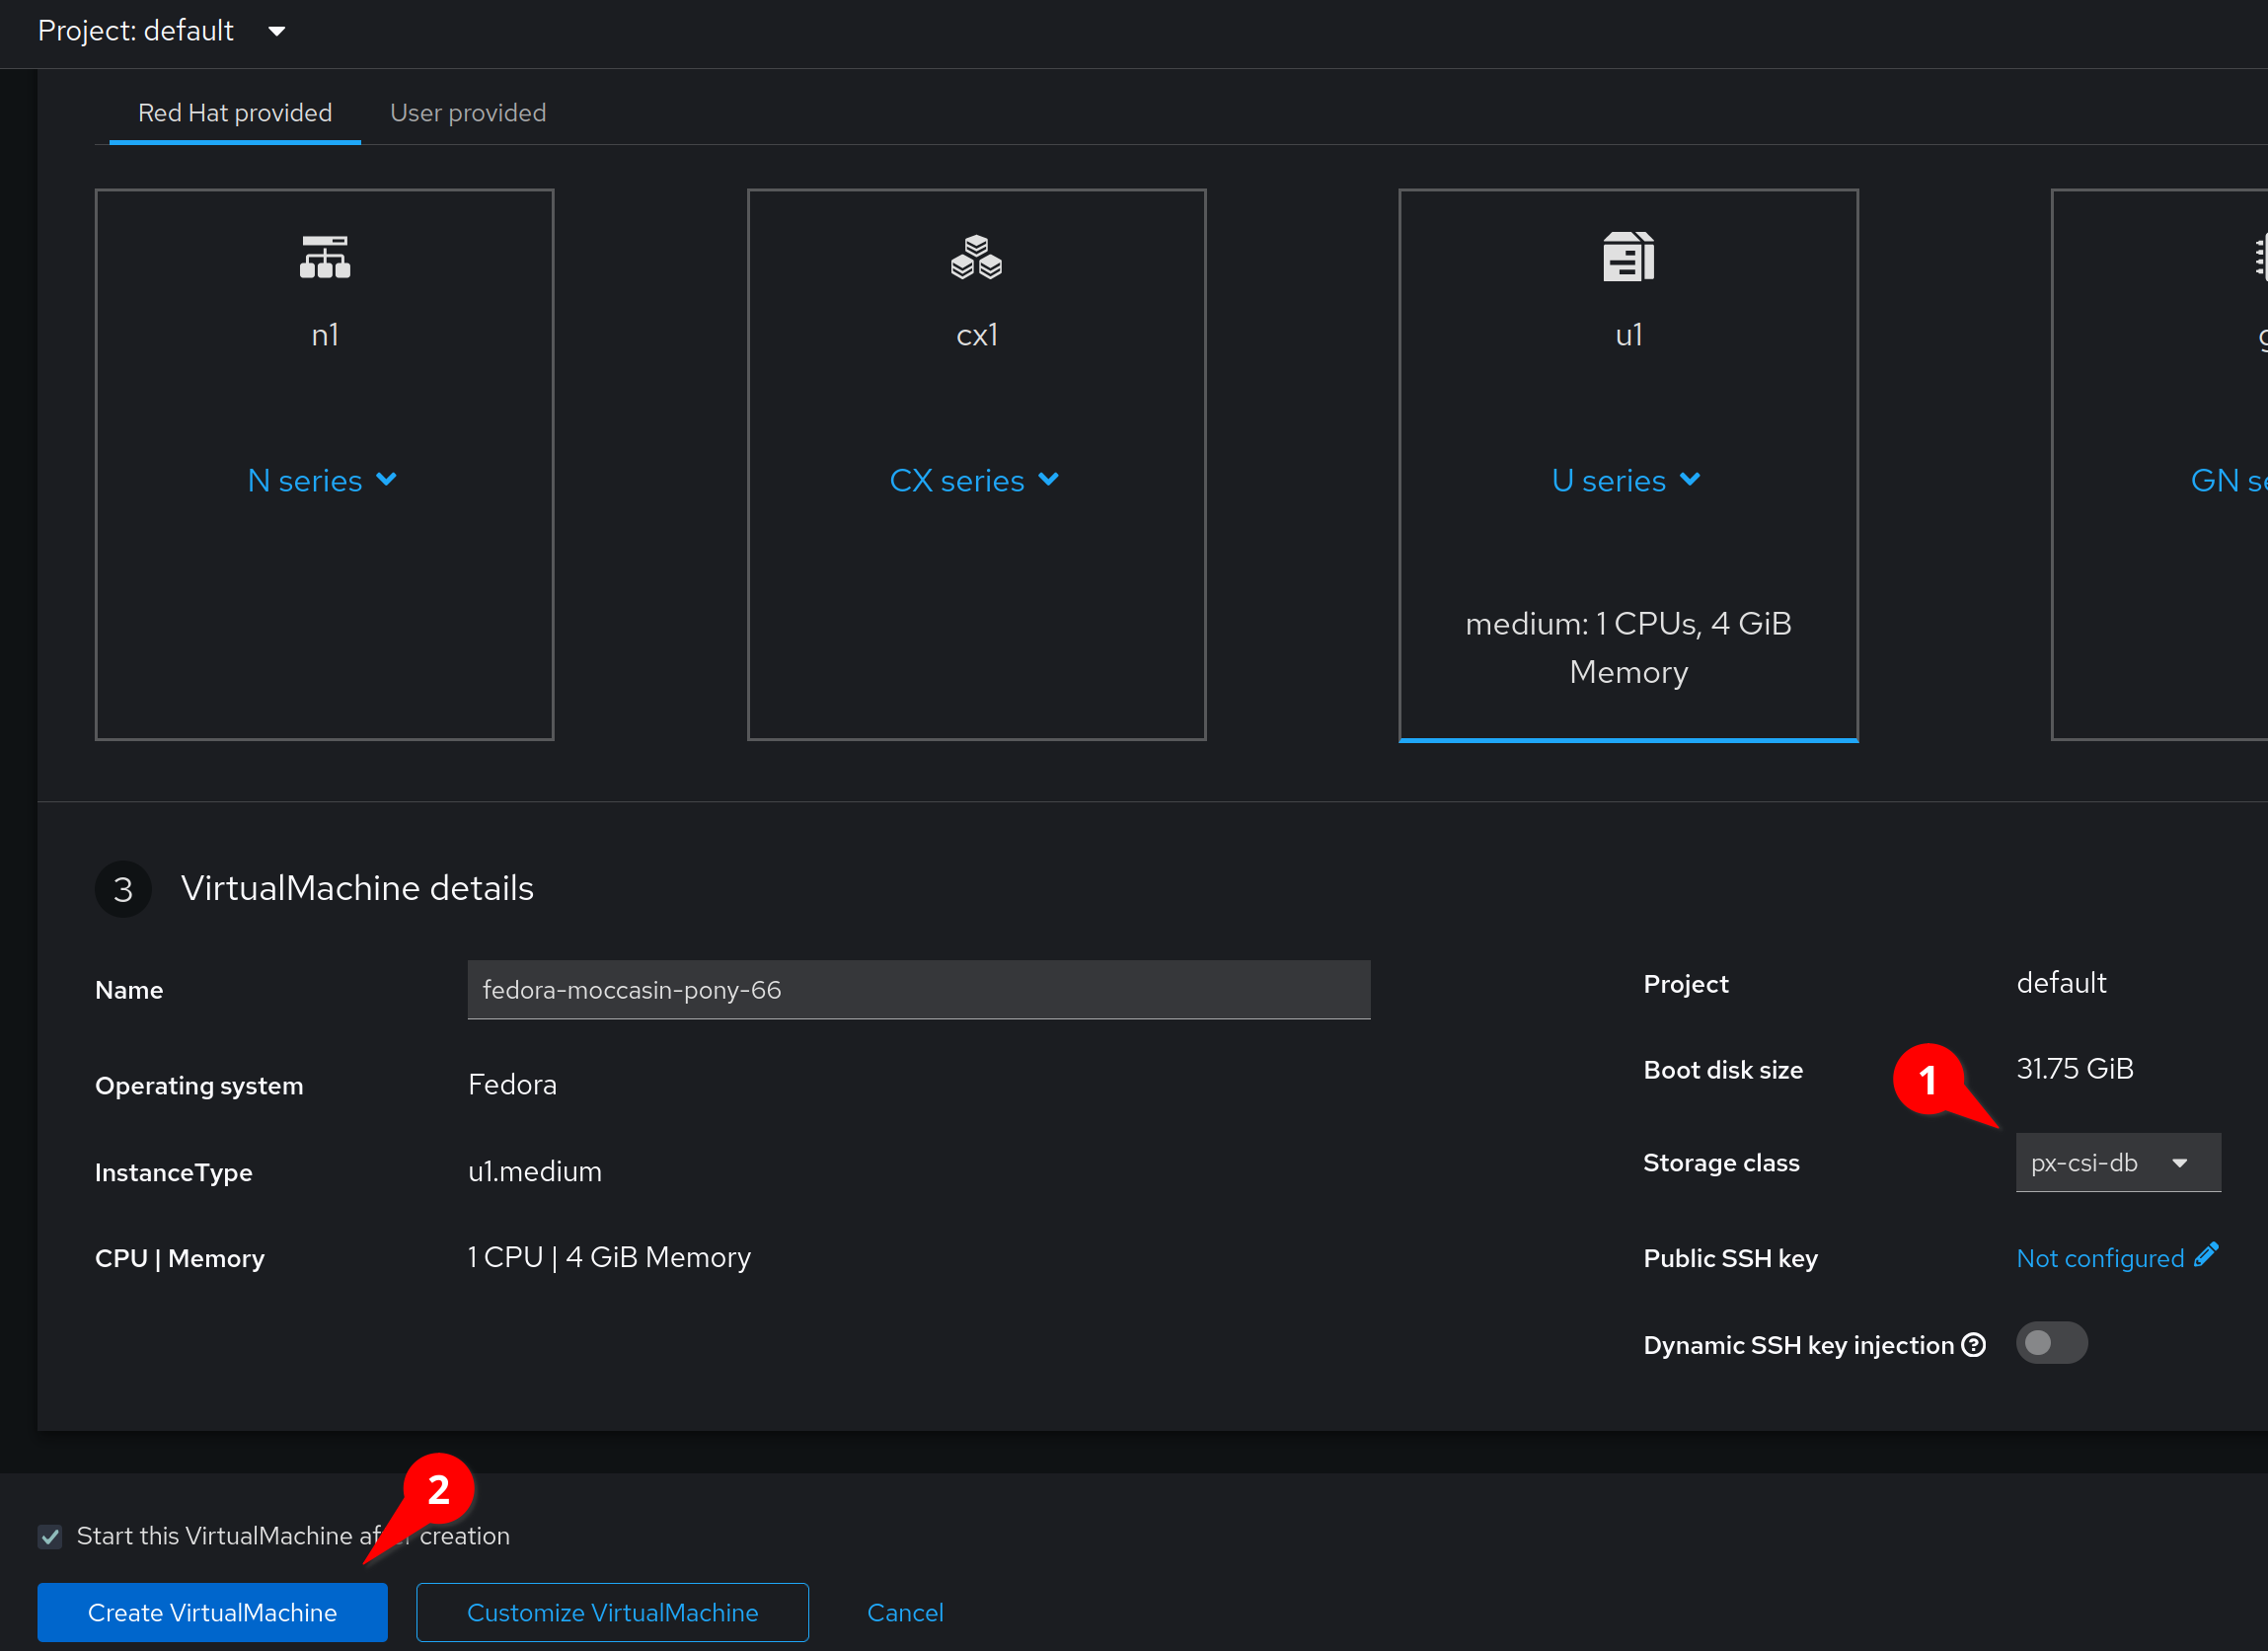
This will automatically start the virtual machine after a short provisioning process.
| It can take a few minutes for the VM to boot for the first time |
Explore the tabs for this virtual machine. We can view metrics, configure snapshots, and view the YAML configuration.
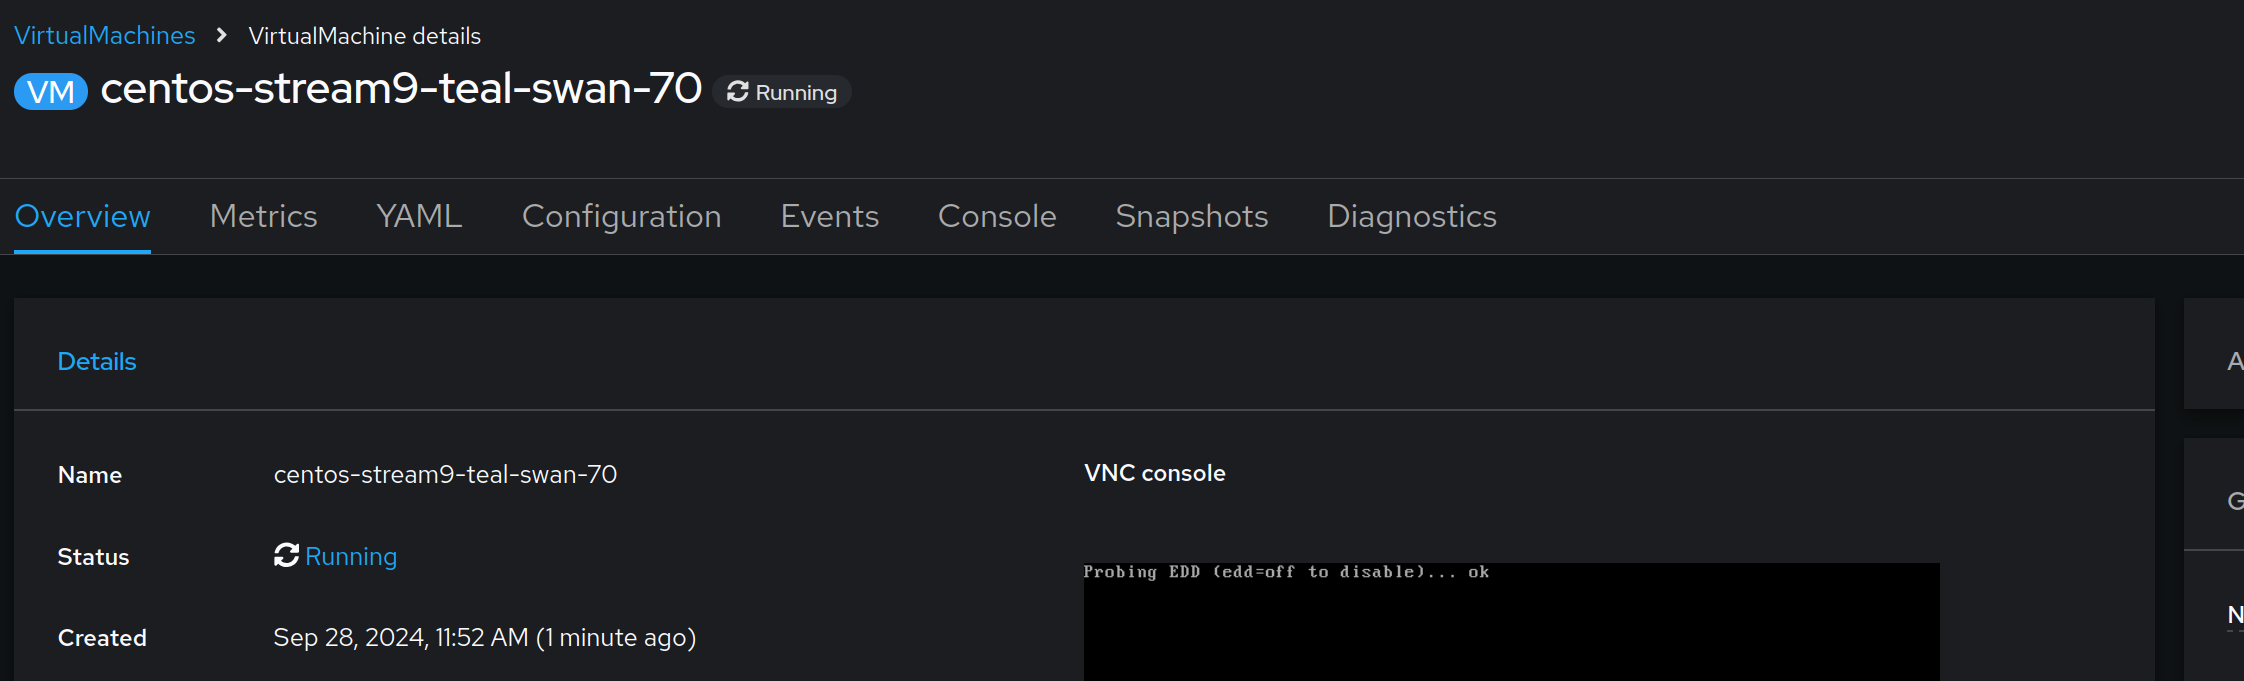
| The Virtual Machine name will be different in your environment |
Click Next to move on to the next lab.